How to Dry Flowers in Silica Gel
Are you wondering how to dry flowers in silica gel? There are a number of ways to dry flowers for various uses, but this post will specifically focus on how to dry flowers in silica gel.
Silica gel is my favorite way to dry flowers as it is the best way to maintain both the colour and shape of flowers. I dry flowers with this method to preserve in resin but the flowers could also be put in a shadow box or just displayed in a vase.
I have used a few different silica gels and my favorite is Activa. Make sure you are using silica gel that is new or recharged (ie. not saturated). You can recharge silica by putting it on a baking tray and in the oven at 250 degrees F for at least 5 hours. Check the instructions of your particular silica gel to double check the recommendations are the same.
If you will be drying flowers to preserve in resin you can check out my getting started guide: Resin for Beginners: How to Get Started
Safety When Working with Silica Gel
If you are able to, pour outside or somewhere with good ventilation. Regardless of the location, I would highly recommend wearing a dust mask at the very least as there is a fine dust that is created when silica gel is poured. I always wear my respirator with these filters when working with silica gel. I also recommend wearing gloves as silica gel will dry out and possibly irritate your skin.
Preparing Flowers for Silica Gel
Flowers should be kept as fresh as possible prior to placing flowers in silica gel. The fresher the flowers appear prior to being placed in silica gel the fresher they will appear once dried. In order to keep the flowers fresh keep them on fresh water and in a cool place such as a basement or garage until you can get them in silica gel. Avoid touching the flowers more than necessary prior to drying them and wear gloves while handling flowers so as to avoid bruises, which can become apparent once flowers come in contact with resin.
Getting started
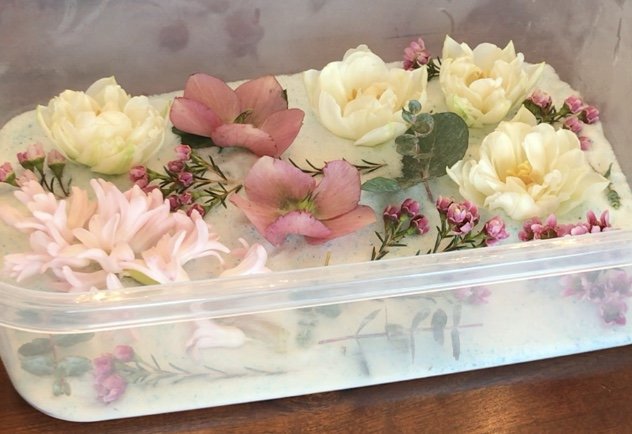
To begin you will want to pour a thin layer of silica gel into the bottom of your container.
Next, trim the stem of the flower at the very base of the flower so that you have just the head of the flower. Carefully place the flowers face up on the silica gel. I use a measuring cup with a spout to scoop and pour the silica so I have more control of where I am pouring and how fast. Very slowly and carefully pour a small amount of silica evenly on the silica gel beside each flower. This will allow the silica gel to fall into place beneath the petals and support the weight of the flower and maintain its shape while it dries. Sometimes if a flowers shape is not ideal to begin with I will adjust it into a shape that is more favorable and use the silica gel to hold it in that shape.
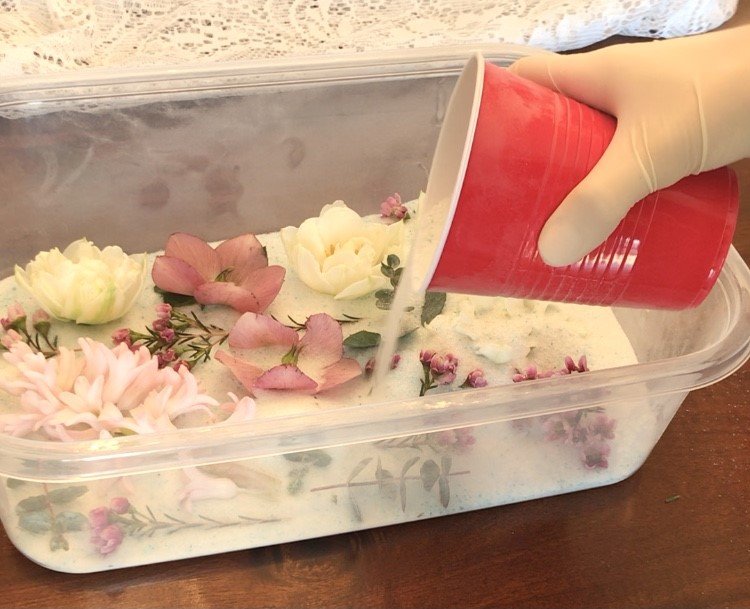
Slowly Build Up the Silica Gel
Once there is a little layer of silica gel holding the outside of the flower slowly pour a small amount inside the flower, careful not to squish any petals. Continue to alternate with this technique. This way the level of the silica gel raises fairly evenly on the outside of the flower compared to the inside. Doing so will keep the petals in place. This will prevent the weight of the silica gel from squishing the flowers. As a result, the shape of the flowers will be maintained once dried.
Let the Flowers Dry
Completely cover the first layer of flowers in silica gel. Next, place another layer of flowers and repeat as many layers as will fit in your container. The containers I use are about 4 inches deep. Next, ensure the lid is on and sealed. Then simply leave the flowers to dry for at least 3 weeks. To remove silica gel, simply tip the container to pour the resin into another container and as the flowers are uncovered carefully scoop your hand underneath the flowers and pick up, turn upside down and carefully shake to remove excess silica gel. If any flowers are not quite dry I will put them back in for another week.
I pretty much always remove the flower head from the stem as it is much easy to maintain the shape of the bloom this way. If you are keeping the stem attached, it will be harder to maintain the shape of the flower because the flower will be laying on its side while drying. I have only even done this with a rose. In that case, holding the rose upright I will carefully pour some silica gel into the center of the rose, then lay it on it’s side and spend even more time making sure the silica gel is falling into place around the natural shape of the flower.
How to Tell if the Flowers are Dry
When you remove the flowers from silica you need to ensure they are fully dried. The flowers are dry when the petals are stiff, almost crunchy, and feels like paper. The petals are not dry if they still bend and feel spongey or mushy. Also, the flowers will feel light when they are dry. If you are unsure I would suggest leaving them in silica for a couple extra days. Before preserving in resin, flowers must be completely dry or they will rot.
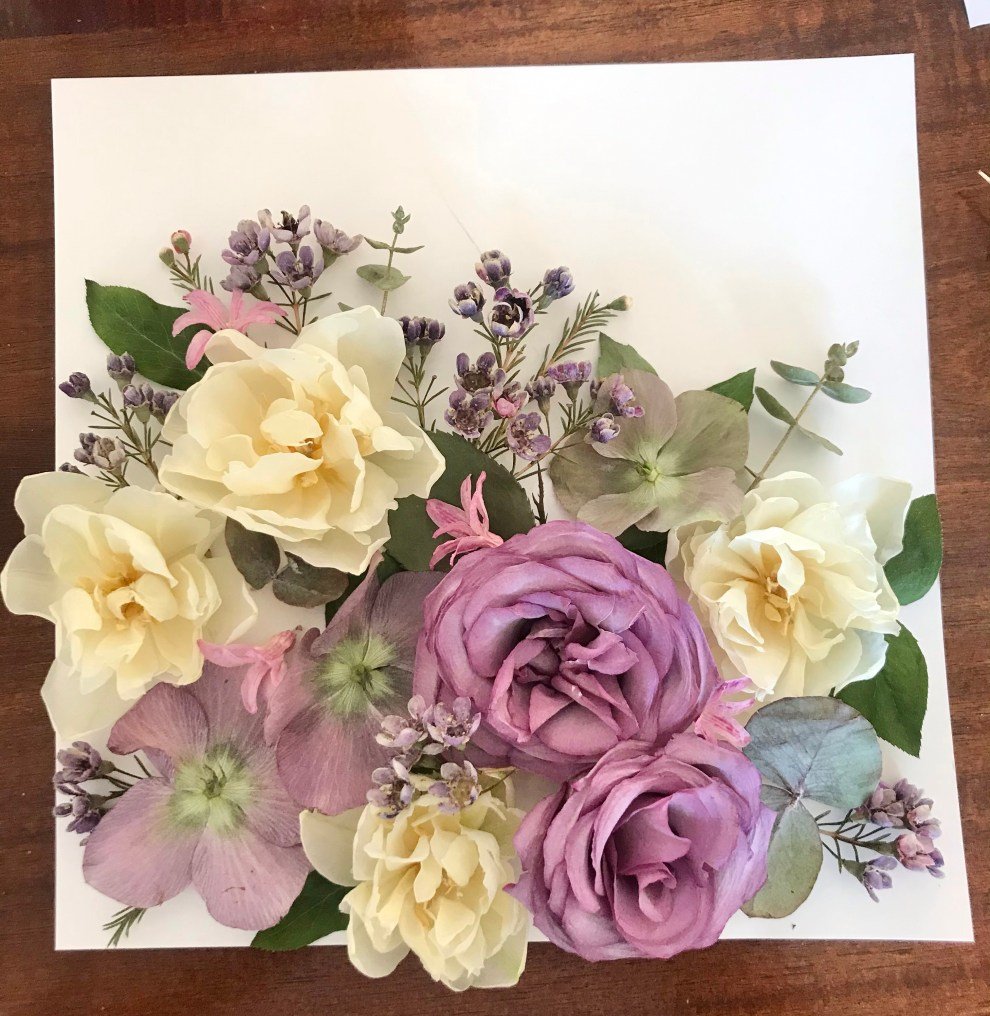
A lot of crafts can be made using dried flowers. Hopefully this helped you understand how to use silica gel to dry flowers. I love this method of drying because the dried flower most closely resembles the fresh flower.
Be sure to check out my Instagram @wildpetalsboutique for more tips and tricks and process videos.